Contents

On-demand webinar
How Good is My Shield? An Introduction to Transfer Impedance and Shielding Effectiveness
by Karen Burnham
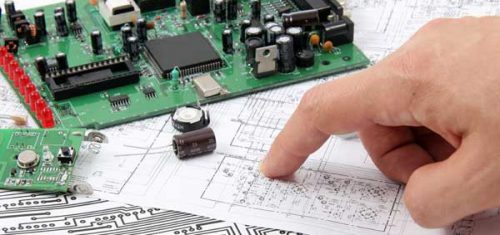
For hardware startups, having prototype printed circuit boards are a crucial part of your device. Efficiency, cost, and board size, and much more are just a few considerations to keep in mind. John Teel has published what steps to consider when tackling the manufacturing and assembly of your PCB prototype.
We’ll list the steps out here, but for a more detailed look at the steps, check out John’s article on tech.co.
1. Create The Electronics Blueprint (Or Schematic)
This includes the BOM, or bill of materials.
2. Create An Intermediate Prototype
This is an optional step, and depends on your project and price range.
3. PCB Layout
This is the step where you or your electronics engineer will create the PCB layout from your schematic: turning “the abstract schematic (blueprint) into a real world physical PCB layout.”
4. Electronics Fabrication and Assembly
After fabrication of the board, microchips and components are soldered on.
To read the rest of the John Teel’s article, check it out here.
Quote and order your circuit boards online with our Turnkey PRO tools in just a few minutes.


